How To Get Started With Your Own Notes
Setup
Before any notes features can be used, the app needs to be given a folder on disk to store notes in. You can choose an existing folder or create a new one. It's best not to store any other files in the folder that you choose.
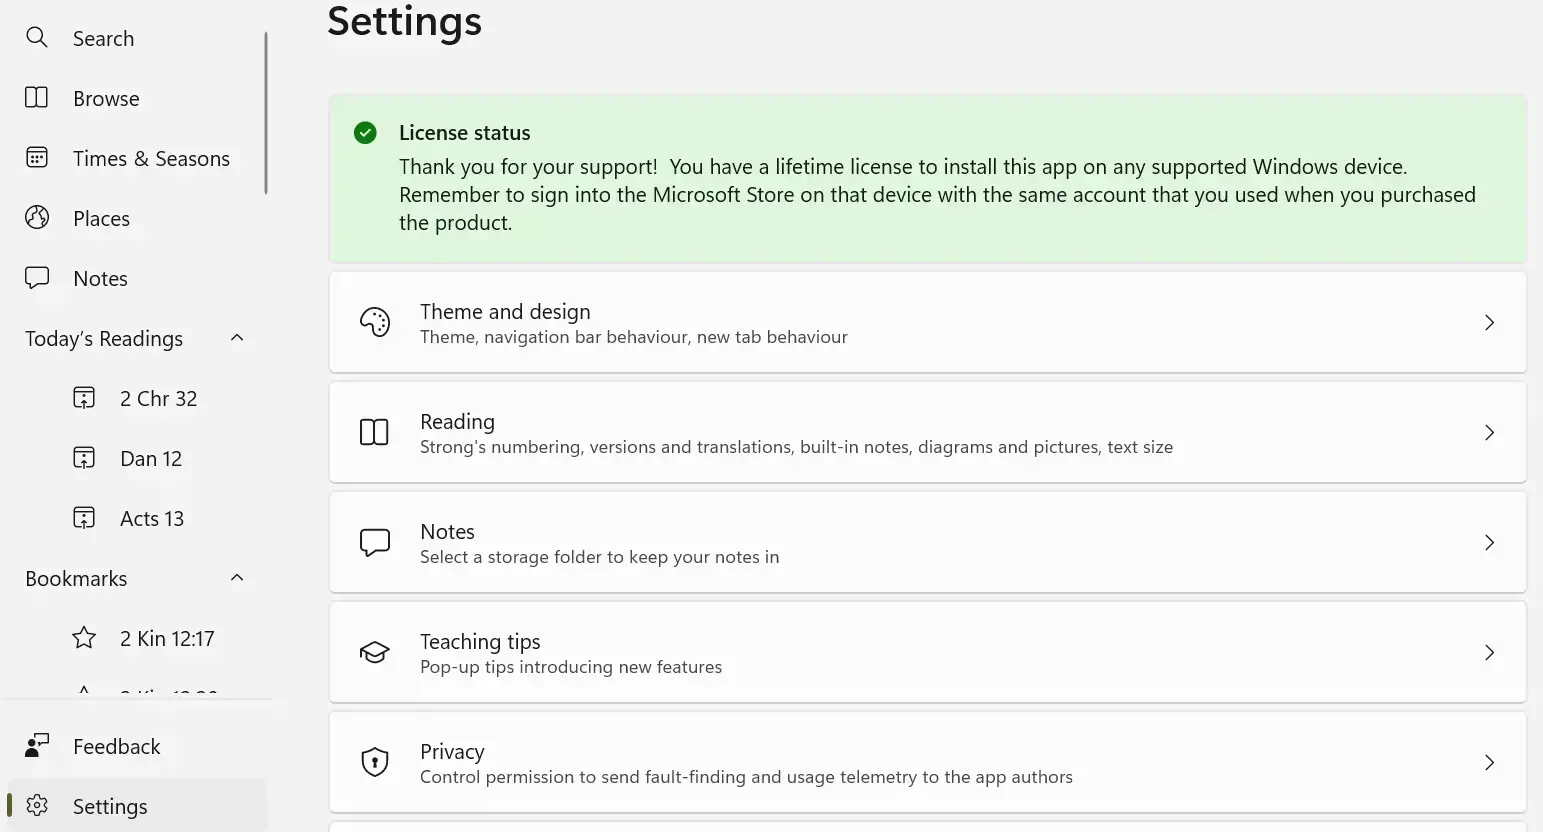
1. To give the app a folder for your notes, click or tap the Settings button in the bottom-left corner, then the “Notes” button.
2. Click the “Choose or change notes save location…” link
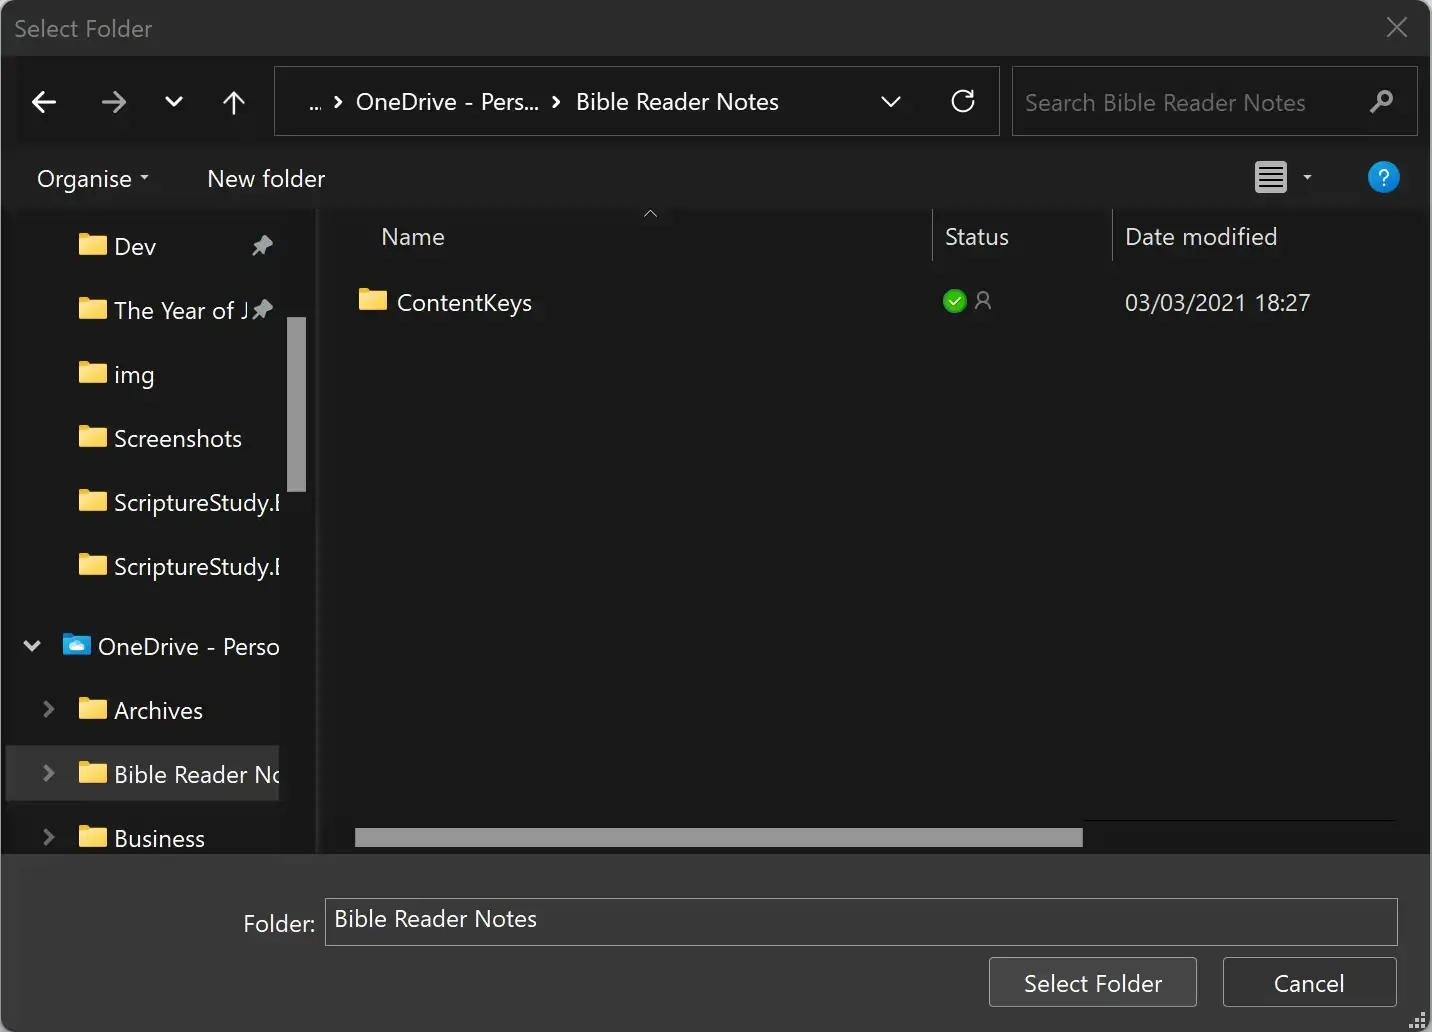
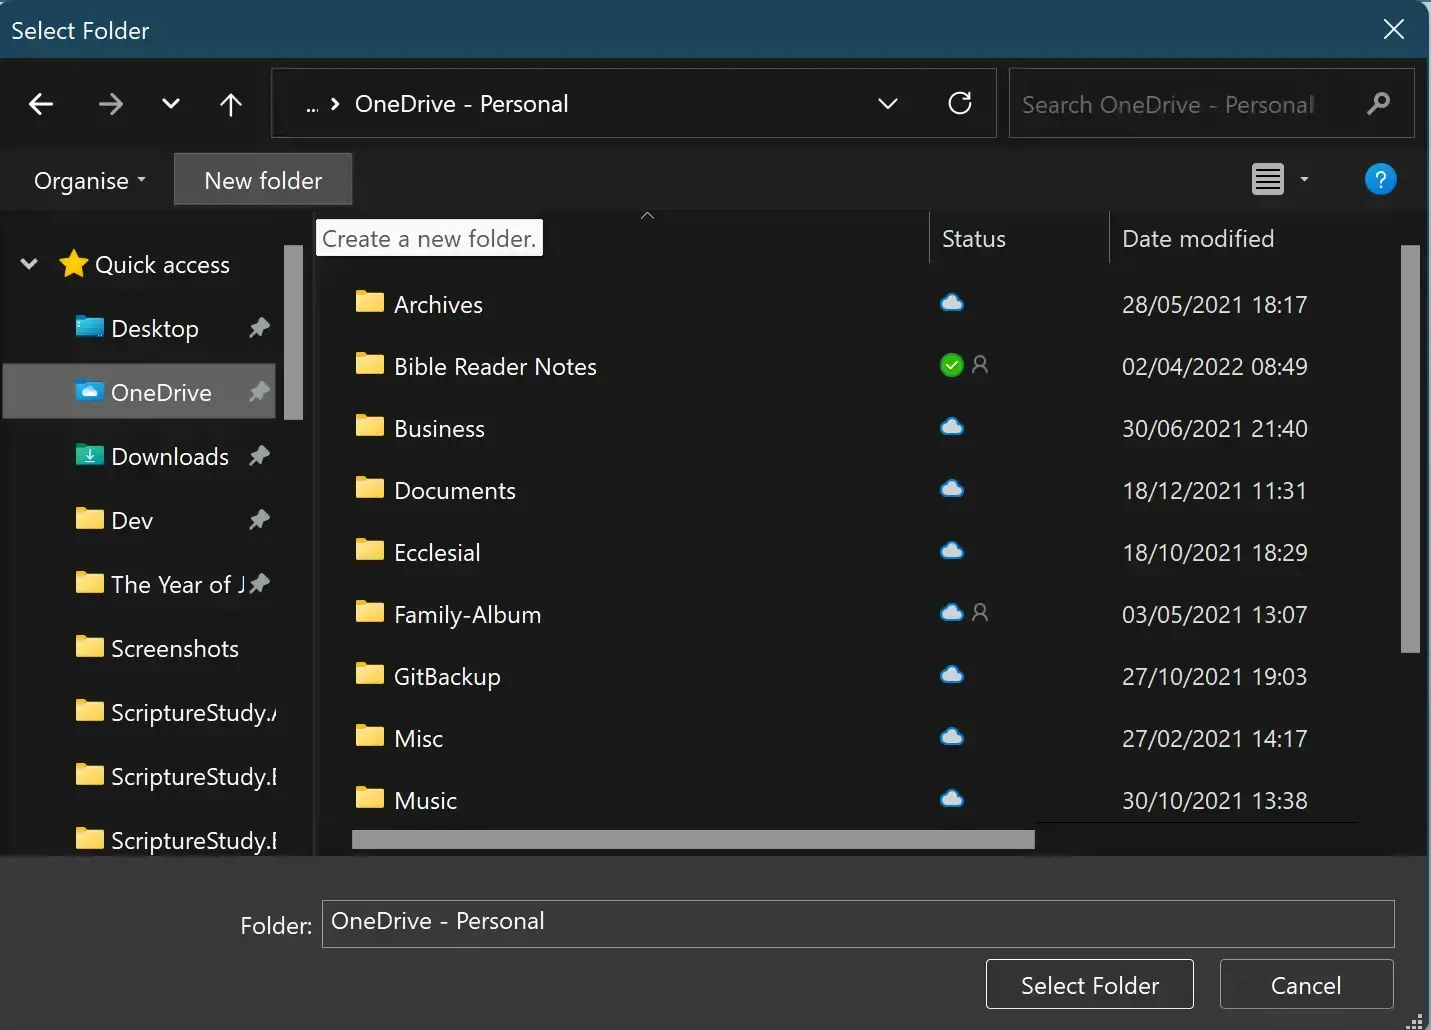
3. Browse to the location that you would like to store notes in, and click the “New folder” button at the top. Enter a name for your new folder, for example “Bible Reader Notes”. Double-click or double-tap that new folder to select it and open it.
With your new folder selected or open (the “Folder:” textbox at the bottom of the dialog window should show your new folder name), click the “Select Folder” button.
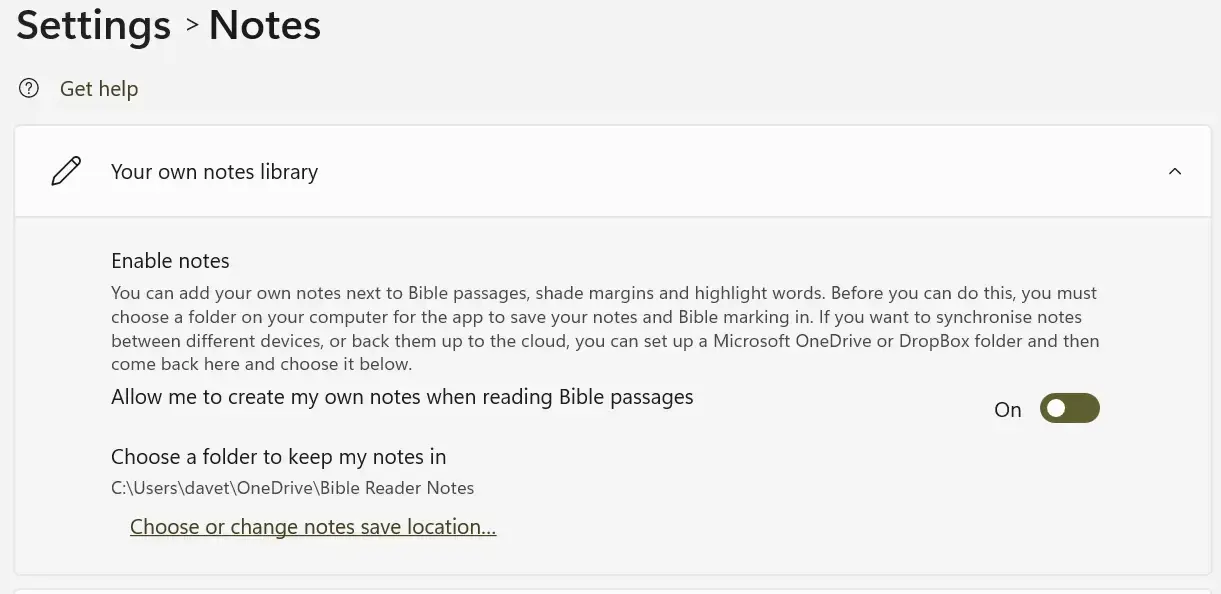
4. The Settings page should now show your new notes folder.
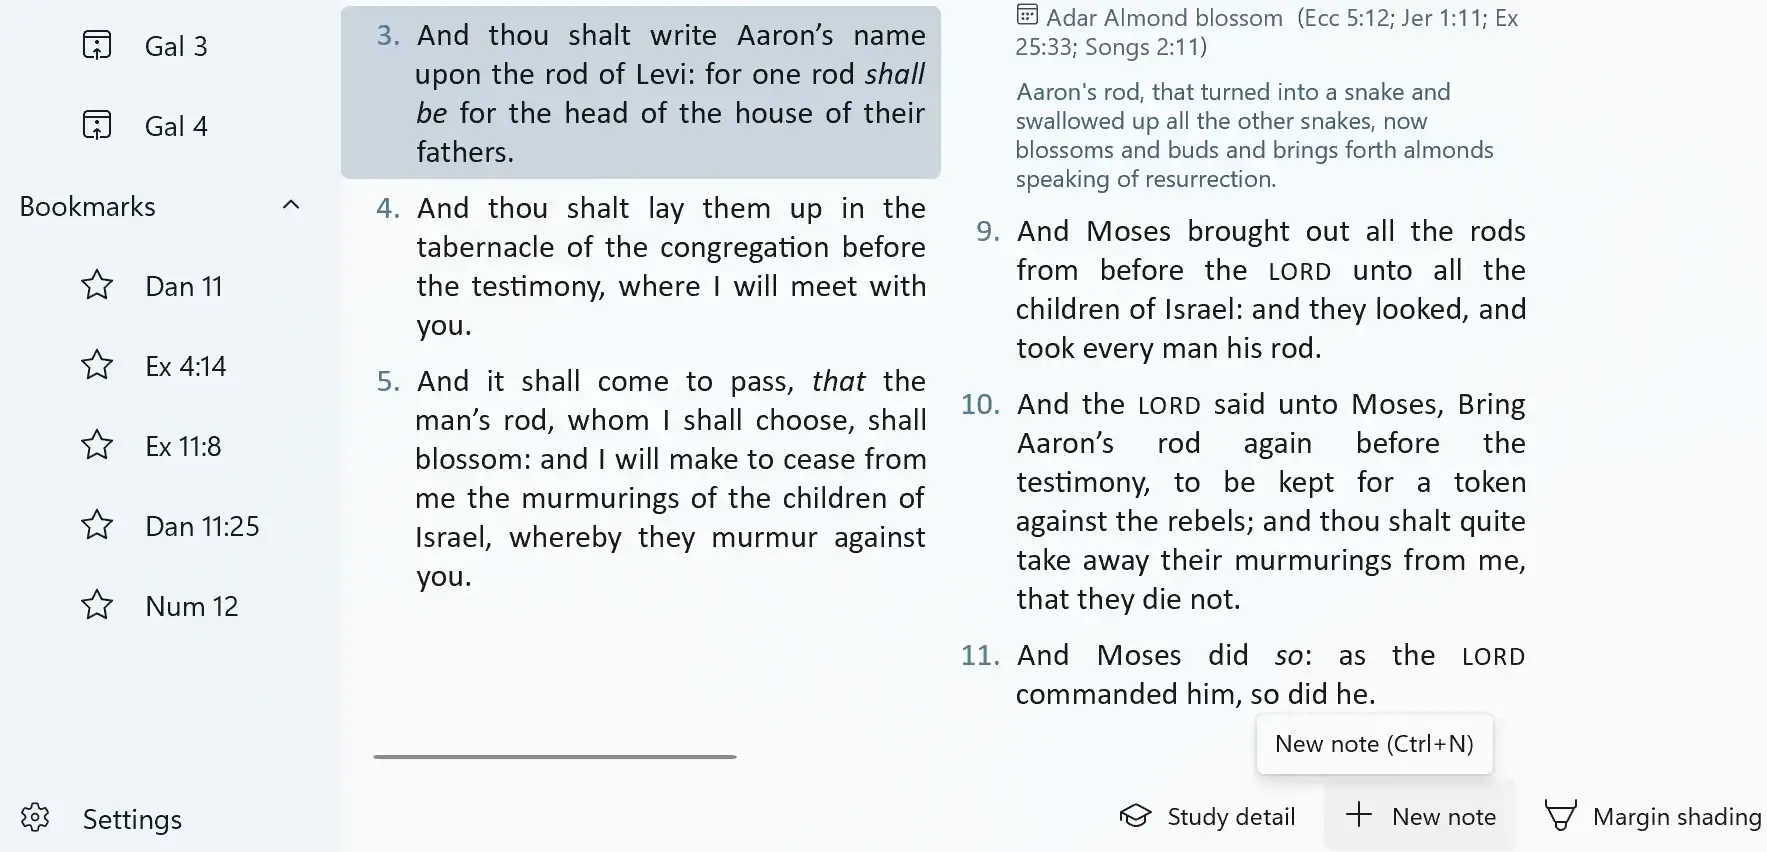
5. You can now browse Bible passages, select a verse, and use the “New note” button that appears at the bottom to create a new note.
Backing up your notes / synchronizing across devices
The app does not automatically back up or synchronize notes. It is recommended to create your new empty notes subfolder inside your Microsoft OneDrive or DropBox folder. After configuring the app to use that new subfolder, any notes you create or edit will be detected by OneDrive or DropBox and copied to the cloud and your other devices. On a second Windows device, you can configure the app to use the same notes subfolder that is synchronized with your first device.
This will keep your notes backed up “in the cloud” in case of a problem with your computer. It will also keep your notes synchronized across two or more Windows devices. It is Microsoft OneDrive or DropBox performing this backup and synchronization, not the Scripture Study Bible app.
This is recommended, but optional. You can also create and use a normal folder on your machine without using Microsoft OneDrive or DropBox.