How To Tag and Organise your Notes
Collecting Themed Notes
Often our notes follow themes. Perhaps notes about a character study of Sarah? Perhaps notes of verses that teach a Bible principle, such as the future return of Jesus to establish God's Kingdom on Earth. Notes can be tagged so that you can find all notes with that tag together later.
Before you can use tags, you need to tell the app which folder on your device you want to save your notes in. Tags are saved with your notes.
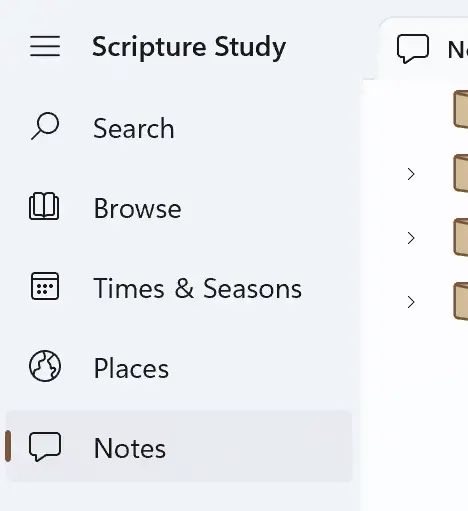
1. Open the Notes Library using the Notes command in the left-hand navigation bar.
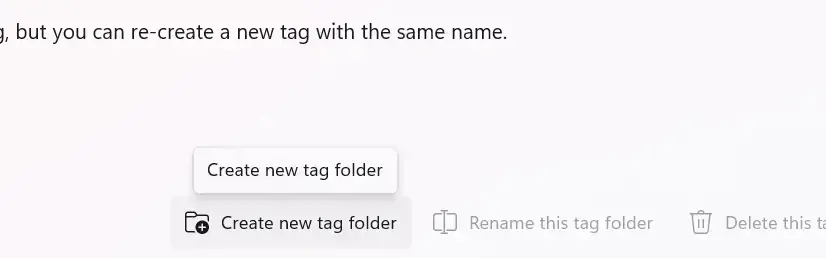
2. Click (or tap) the "Create new tag folder" command in the ribbon at the bottom of the Notes Library, enter a name for your tag and click the Create button.
If you can't see that command, make sure that you have followed the steps in Getting Started to configure where you want to save your notes.
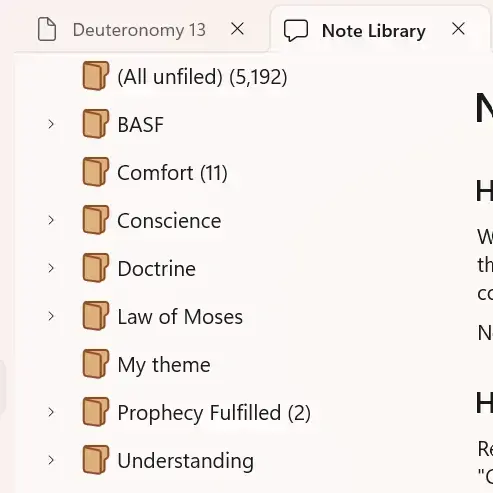
3. Your new tag should appear in the list of tag folders on the left. Here we've created several.
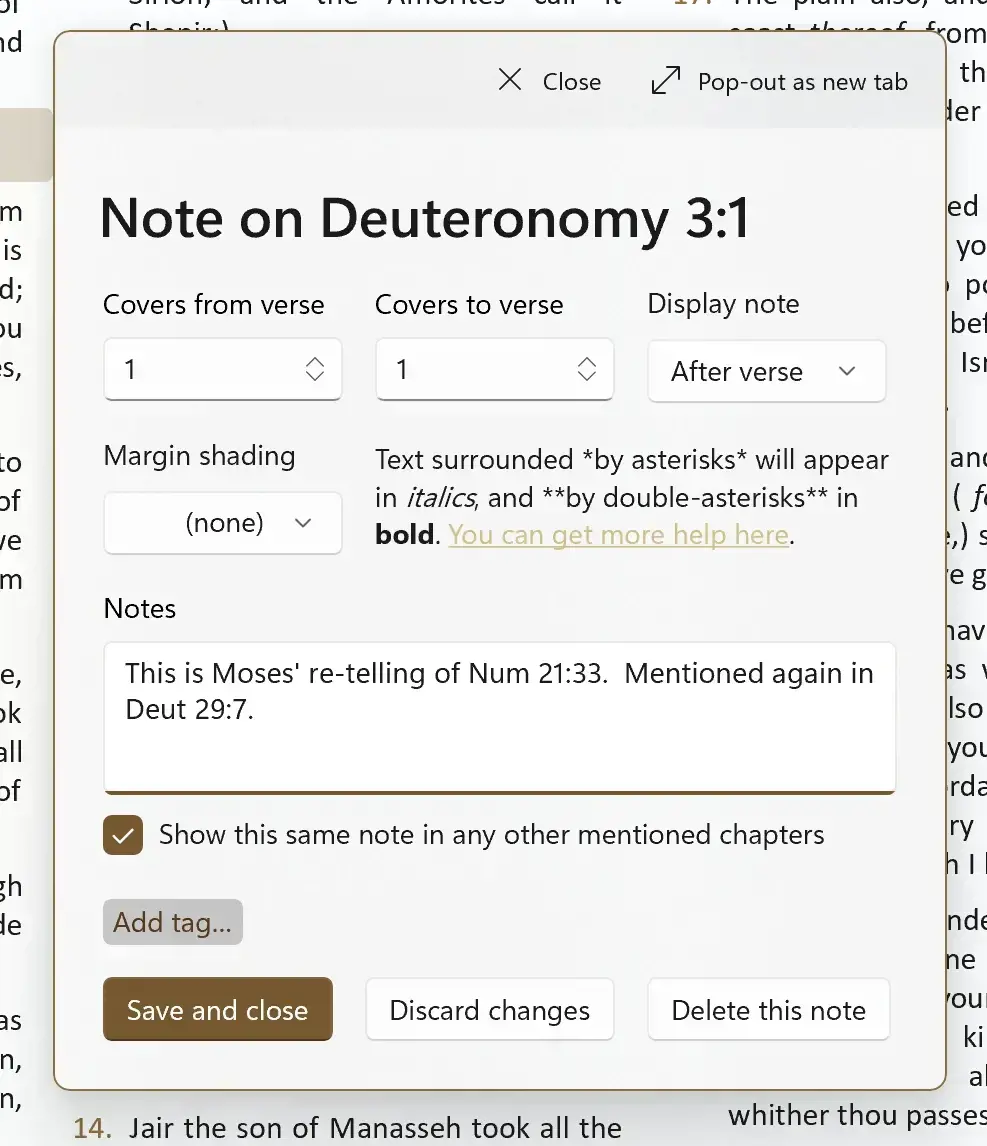
4. Browse to your Bible passage that you want to create a note next to and start to create a new note. You can read more about how to do that in this guide. Leave the note editor open for the next step.
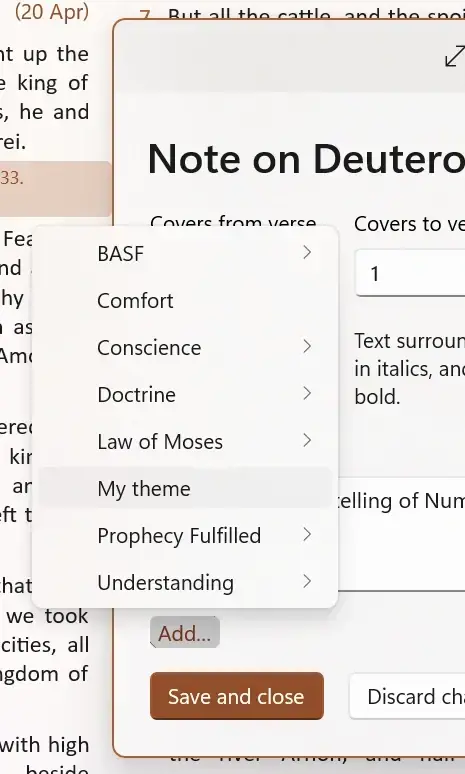
5. Click (or tap) the small "Add..." button near the bottom of the Note Editor to pop up a menu of tags. Select your new tag.
You can repeat this to add as many tags as you like to a note. As your list of tags grows, a verse might often fall into different themes, categories or topics in your list.
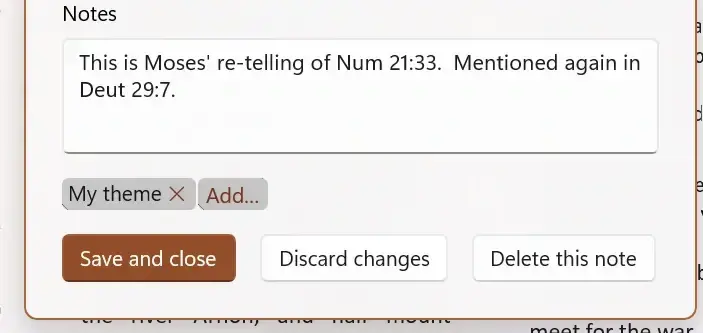
6. You should see the tag (or tags) appear in the Note Editor next to the "Add..." button. Click "Save and close" to create the note.
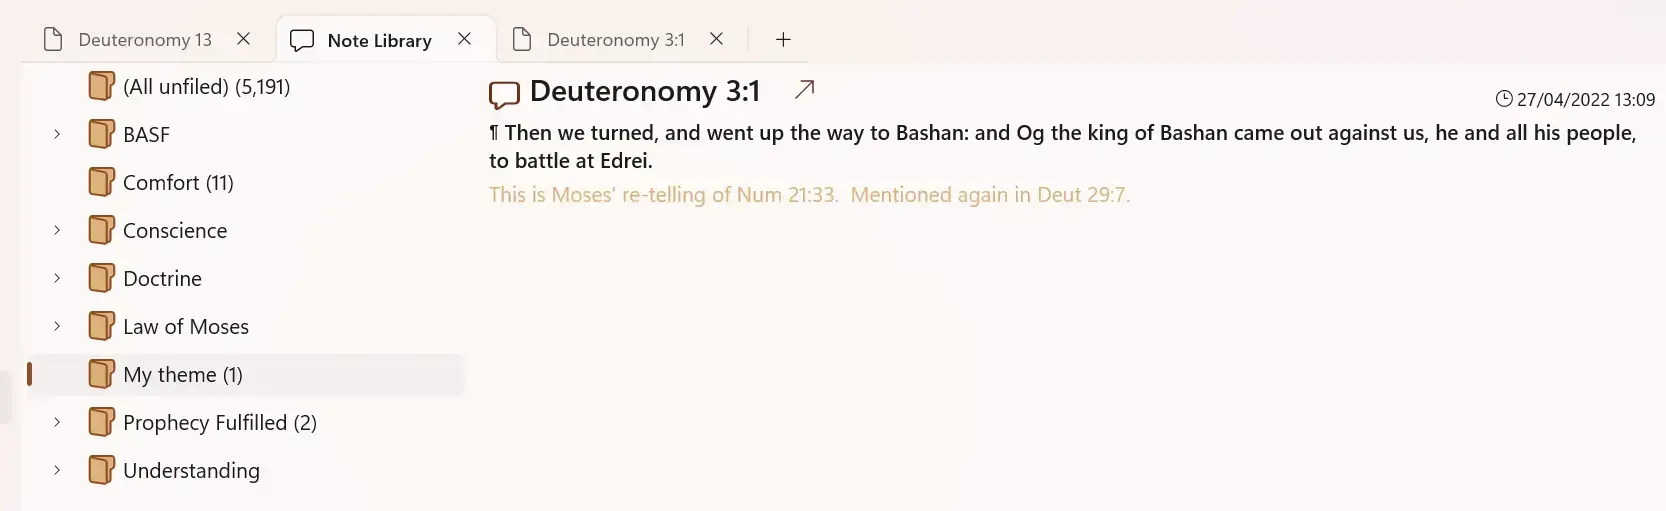
7. Return to the Notes library and click the folder for your tag. You should now see your new note because you tagged it.
You can tag as many notes as you like with the same tag. They will all appear here in this list.
8. To remove a tag, edit the note either in the Bible view, or here in the Notes Library by clicking the note and clicking "Edit note" in the command ribbon at the bottom. Click (or tap) the small cross next to the tag you want to remove and save the note. The note will disappear from that tag folder in the Notes Library
If your list of tag folders grows, you can click-and-hold (or tap-and-hold) a tag folder in the Notes Library and drag it into another folder to nest them.